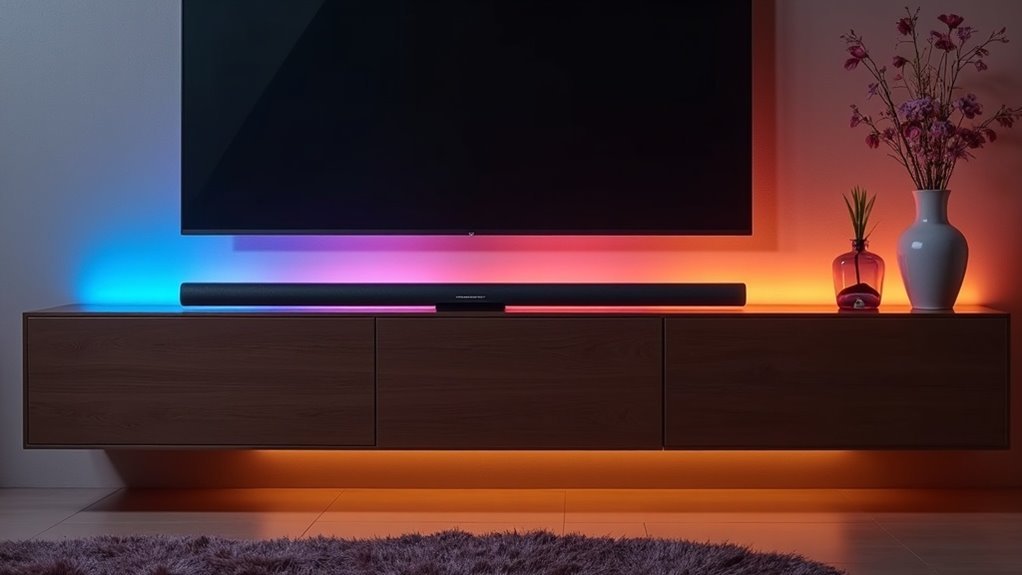
To route audio from your projector to a soundbar, access the projector’s audio settings and select the appropriate audio output option. For optimal sound quality, choose HDMI ARC or optical if you’re using an optical connection. Ensure that the audio format is set to PCM for compatibility with your soundbar. Adjust the volume levels on both devices to prevent distortion, and verify that HDMI-CEC is enabled for a seamless connection. For additional tips on adjustments and troubleshooting, explore our extensive guides on soundbar setup and optimization.
Key Takeaways
- Access the soundbar’s settings menu and navigate to the “Audio Input” section to select the appropriate audio routing option.
- Choose HDMI ARC for high-quality audio transmission or optical connection if using an optical cable.
- Ensure the selected audio input matches the connection type you are using to link the soundbar to the projector.
- Regularly check and adjust volume levels on both the soundbar and projector to prevent distortion and ensure optimal sound quality.
- Confirm that the soundbar’s audio input format is compatible with the projector, preferably setting it to PCM for universal compatibility.
Understanding Projector Audio Settings
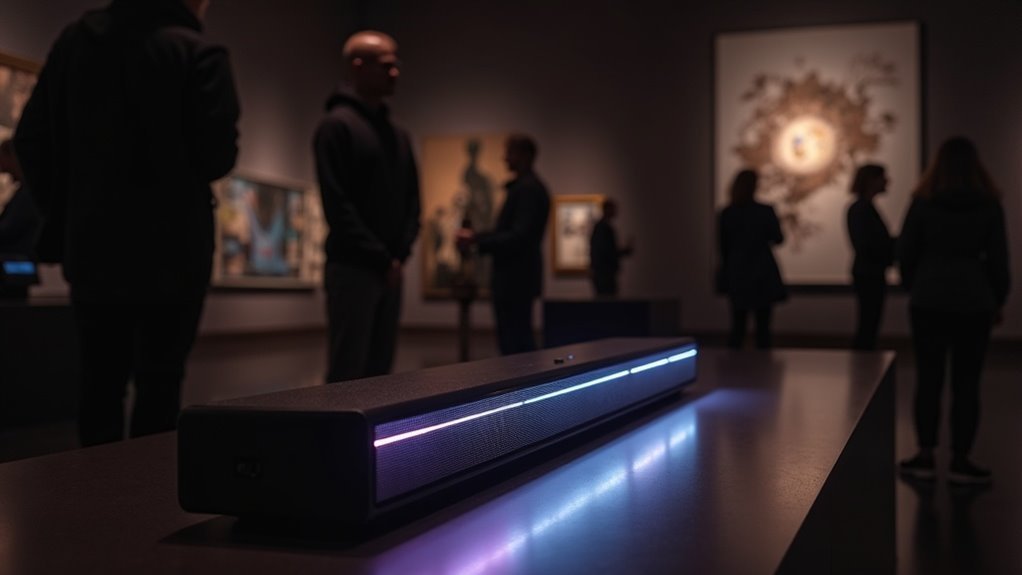
When you’re setting up your soundbar, understanding its audio settings is essential for ideal sound performance.
You’ll want to select the correct audio output source, which lets you switch between internal speakers and the soundbar itself. Access the soundbar audio settings menu to adjust volume levels and choose appropriate audio formats, whether PCM or others.
Select the right audio output source to switch between internal speakers and your soundbar, and adjust settings for optimal sound.
If your soundbar supports HDMI ARC, it simplifies connections with projectors, allowing volume control through one remote.
Verify the audio output matches the port used for the projector connection, and regularly check for firmware updates to enhance audio compatibility and performance.
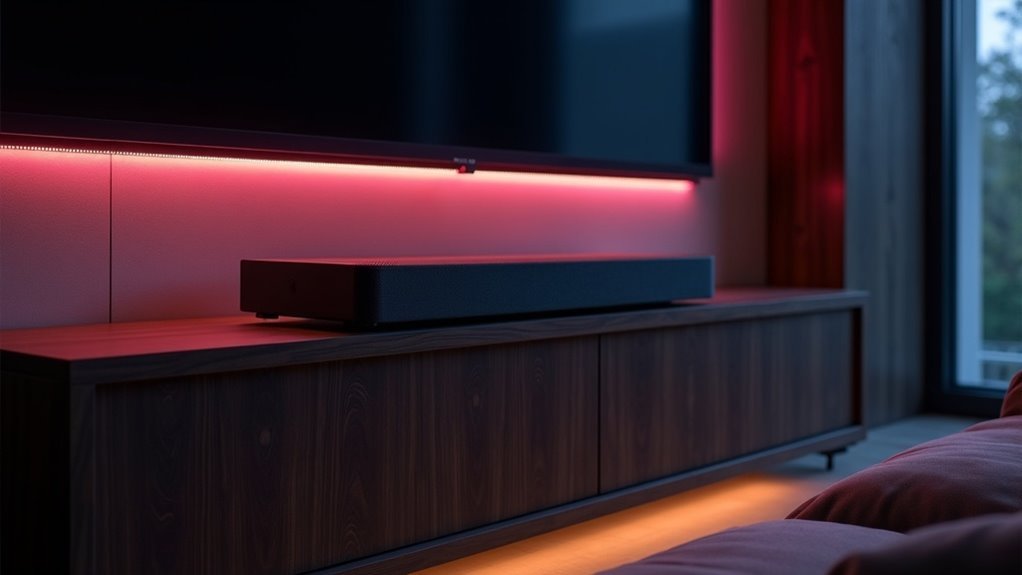
Selecting the Correct Audio Output
After configuring your soundbar’s audio settings, the next step is selecting the correct audio output on your projector to ensure optimal performance.
Access the projector settings menu and navigate to the “Audio Output” section. Choose the appropriate connection method based on your setup, such as:
- HDMI ARC for high-quality audio transmission, which is often the best choice for soundbars.
- Optical if you’re utilizing an optical cable for a reliable digital connection.
- Bluetooth for a convenient wireless connection to your soundbar.
Make sure the selected audio output corresponds with your chosen connection type to guarantee the best audio quality.
Once you’ve made the necessary adjustments, it’s important to test audio playback to confirm that your soundbar is receiving the audio signal correctly. This step is crucial for achieving a seamless and immersive audio experience.
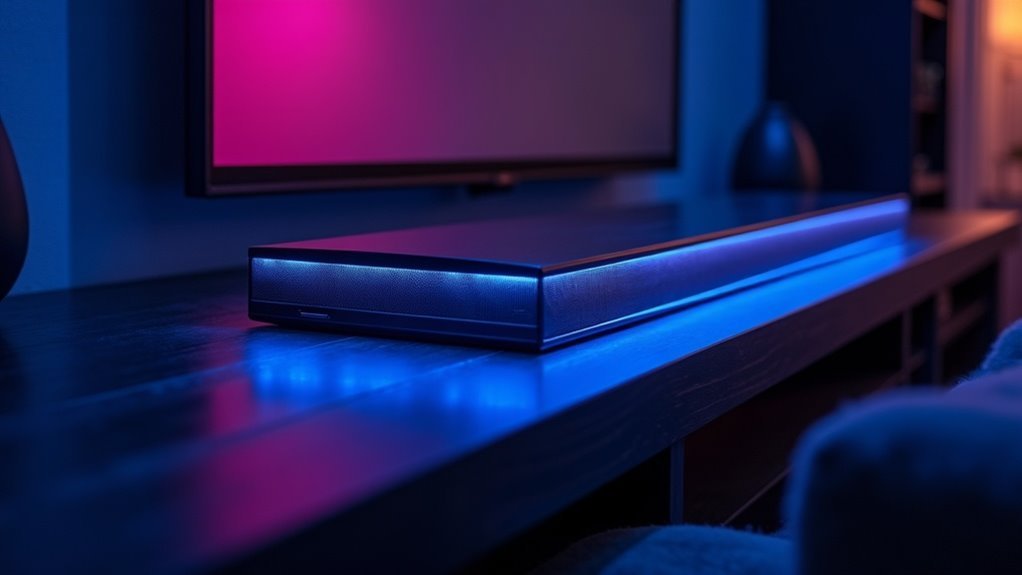
Adjusting Volume Levels for Optimal Sound
To achieve ideal sound when using a soundbar with your projector, it’s crucial to adjust the volume levels appropriately.
Start by accessing the projector’s audio output settings to ensure sound is routed through the correct audio options, such as HDMI ARC or optical. Set the volume levels on both the projector and soundbar to prevent distortion while ensuring balanced audio playback.
Regularly check the soundbar settings to confirm it’s receiving signals from the projector. After making adjustments, test the audio playback for optimal sound quality, fine-tuning further based on your preferences to create an enjoyable listening experience with your soundbar.
Compatibility With Soundbar Audio Formats
Achieving ideal audio quality with your soundbar involves understanding how it communicates with your projector, particularly regarding audio formats.
- Ensure your soundbar supports standard formats like PCM, Dolby Digital, and DTS.
- Review your projector’s specifications to check for compatibility with advanced surround sound options.
- Adjust your soundbar settings to optimize audio input from the projector.
Using PCM is often recommended for universal compatibility.
When connecting, confirm that the projector’s audio output matches what your soundbar can decode.
If available, enable HDMI ARC in your audio settings to enhance digital audio transfer, ensuring a seamless high-fidelity audio experience that meets your entertainment needs effectively.
Troubleshooting Common Audio Issues
What should you do if your soundbar isn’t producing audio from your projector?
First, check the audio output settings on your projector to ensure they’re set to HDMI or optical, not “internal” or “projector speakers.”
Next, verify the audio format compatibility; set the projector to output PCM for optimal soundbar performance.
Adjust the volume levels on both devices, making sure neither is muted.
If you’re using HDMI ARC, confirm that HDMI-CEC is enabled on both the projector and soundbar to facilitate proper audio return channel functionality.
Following these troubleshooting steps should help you effectively restore audio to your external soundbar.